Playing around with digital images
In class we reviewed a couple of things. First of all:
- Pixel-based software vs. vector-based software
My main takeaway was that pixel-based software means that you may end up with big, grainy pixels, whereas with vector-based software, images can be expanded without that side effect. *This knowledge came in handy, as I’ll explain in a minute.
Second, we looked at some
- Recommendations for accessible image editing software
- Pixlr (use online through an app)
- GIMP (free and open-software)
- Prisma
- Mirror App
- And…. PowerPoint! / Google Slides
Google Slides experimentation
I have to admit that I am a bit slow on the technology uptake. Rather, I won’t learn something until I need to. Playing around with possibilities just for the sake of it doesn’t appeal to me. Since I already use Google Slides a lot, and I know that students do, too, I figured I would play around with Google Slides for image editing, much thanks to Michael’s demonstration and own enthusiasm for this hack.
Here are some screenshots of Google Slides that I put together and edited, also using the Explore tool (the tool in the bottom right, which handily offers slide compositions).


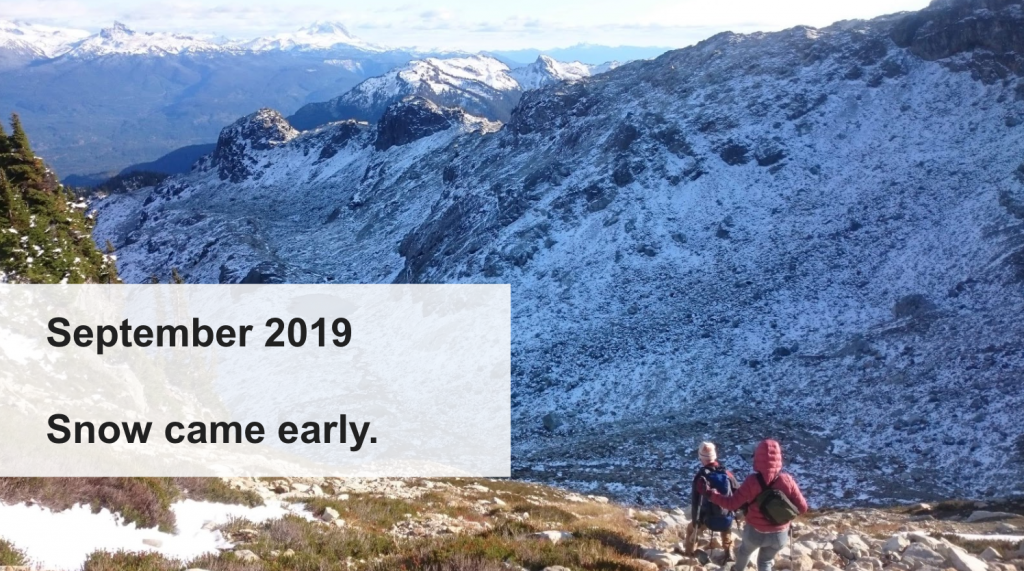
I wanted to use Google Slides to make a website header image for this blog.
It took several attempts and playing around to land on this (which may or may not stay as the header image):

Trickiness explained:
- You can download individual slides as JPEGs or PNGs, but these, when uploaded, get grainy (pixel-based! boo)
- You can download individual slides as Scalable Vector Graphics (.svg) (vector-based!), but you can’t upload those to WordPress (boo)
- In the end, I downloaded the slide as an .svg, opened it, took a screenshot, and uploaded that screenshot
- The result is a little grainy, but not as grainy as the original JPEG or PNG
- Is this the best approach? Probably not, but it does work.
-
Leave a Reply